icon in the Notes tab indicate that a note is added to the warranty claim.
The notes are add-on information that you may want to provide to other stakeholders in a workflow. On the Notes tab, you can add new notes, and also view, modify, or delete the notes you had previously added.
Note: A notes icon in the Notes tab indicate that a note is added to the warranty claim.
 Tip
Tip
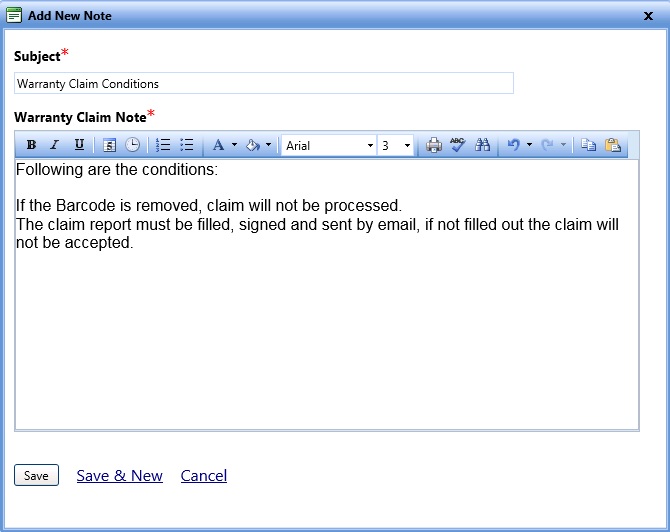
To view the Add New Note dialog box, click the Add New Note link.
1. Click the Notes tab.
2. You can view the notes in one of the following ways:
o Click the Show All Notes link to view all the notes.
o Click ![]() adjacent to the note you want to view.
adjacent to the note you want to view.
1. Click the Notes tab.
2. Click the Add New Notes link.
The Add New Note dialog box opens.
3. In the Subject and the Warranty Claim Note boxes, type the subject and the details of the warranty claim note, respectively.
Required fields are marked with a red *.
4. Click one of the following:
o Save to save the note and close the Add New Note dialog box.
o Save & New to save the note and add another note.
o Cancel to disregard any changes and close the dialog box.
Note: After you add a note to a warranty claim, the notes icon is displayed in the Notes tab.
1. Click the Notes tab.
2. Click ![]() next to the note you want to edit.
next to the note you want to edit.
3. Click the Edit Note link.
The Edit Note dialog box opens.
4. Make the desired changes.
5. Click one of the following:
o Save to save the note and close the dialog box.
o Cancel to disregard any changes and close the dialog box.
1. Click the Notes tab.
2. Click ![]() adjacent to the note you want to delete.
adjacent to the note you want to delete.
3. Click the Edit Note link.
The Edit Note dialog box opens.
4. Click Delete.
5. In the Confirm Delete Note dialog box, click one of the following:
o Yes, Delete the Warranty Claim Note to confirm deletion.
o Cancel to disregard any changes and close the dialog box.