Tip
TipThe Edit Barcode Settings dialog box lets you update the barcode settings such as barcode label size and default printer for barcode printing.
Tip
To view the Edit Barcode Settings dialog box, click the Edit Barcode Settings link.
1. Click the Setup module.
2. In the Application Setup section, do one of the following:
§ Click  next to the Inventory option, and then click Settings.
§ In the Inventory section of Application Setup, click the Settings link
The Inventory Settings page opens.
3. Click the View link next to Edit Barcode Setting.
The Barcode Settings page opens.
4. Click the Edit Barcode Settings link.
The Edit Barcode Settings dialog box opens.
5. Make changes in the following fields as required:
§ In the Barcode Label Size list, select the label size of the barcode.
§ In the Default Printer for Barcode Printing list, select the printer option.
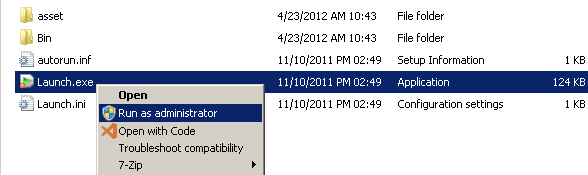
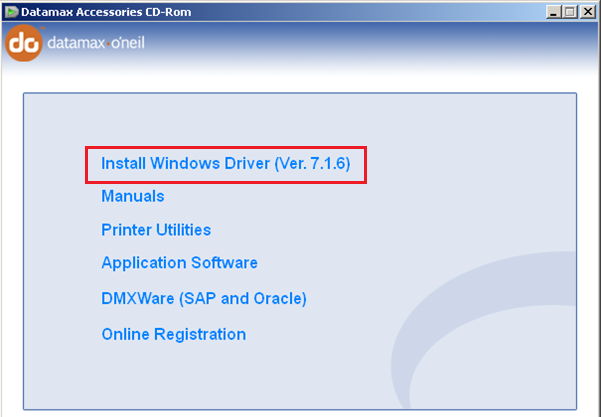
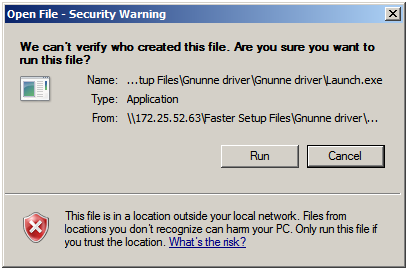
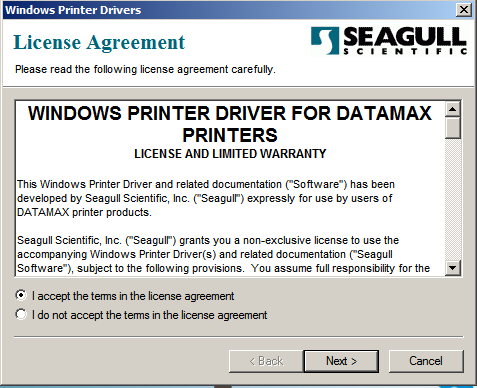
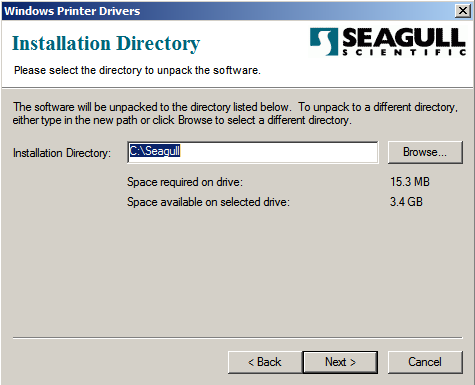
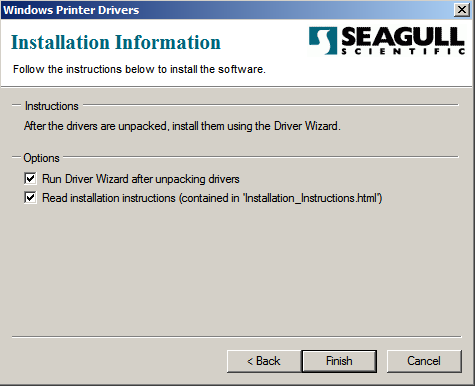
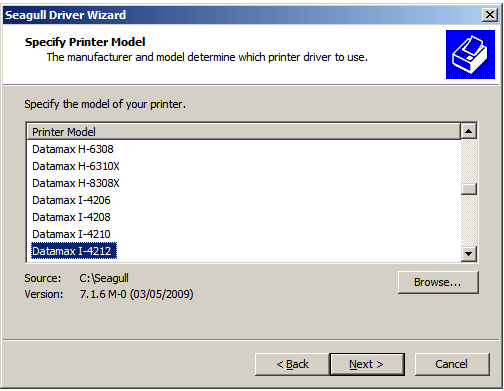
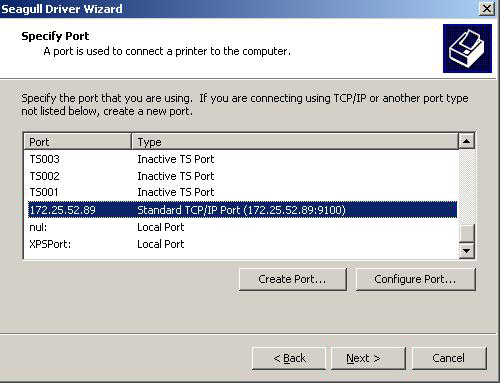
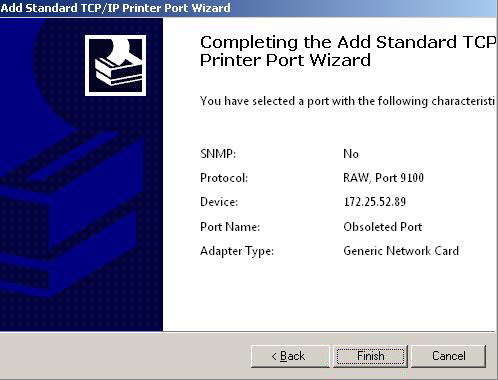
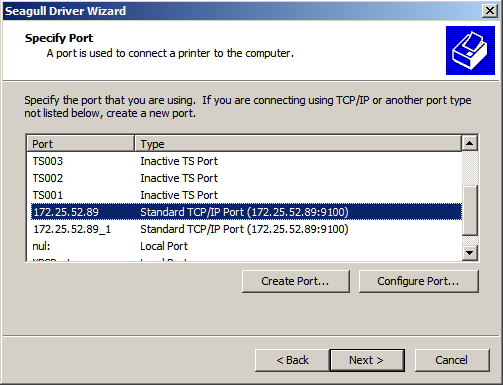
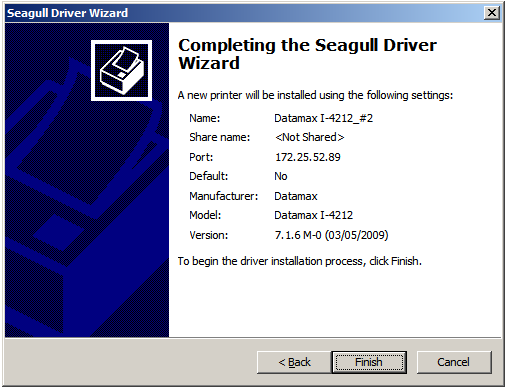
Note: If you have selected the Datamax Label Printer option, you must install the Datamax Label Printer to print barcodes. Click Installation of Datamax Printer Drivers to follow the installation steps.
The Selected Field(s) box displays all the barcode fields that are selected by default.
|
Note: · FASTER Web supports barcode label sizes 4 X1 and 4 X 2. · To exclude specific barcode fields, select the field from Selected Field(s) box and move it to the Barcode Field(s) box using the arrow keys. · To select more than one option from the Selected Field(s) section, press Ctrl + click the option. · Only the fields that are available in the Selected Field(s) box appear in the barcode. · For the barcode label size 4 X 1, you cannot edit the barcode fields because the fields and the field layout are fixed for 4 X 1 label size. You can select barcode fields and field layout for barcode label size 4 X 2. · You can preview the barcode with selected combinations on the right-side of the Edit Barcode Settings dialog box. |
6. When finished, click one of the following:
§ Save to save the information and close the dialog box.
§ Cancel to disregard any changes and close the dialog box.