Tip
TipFrom the Step 1: Select Reports and Scripts page, you can select the required script files to be executed and add-on report files to be deployed, and also provide credentials to connect to the Report server.
Tip
The Standard window opens.
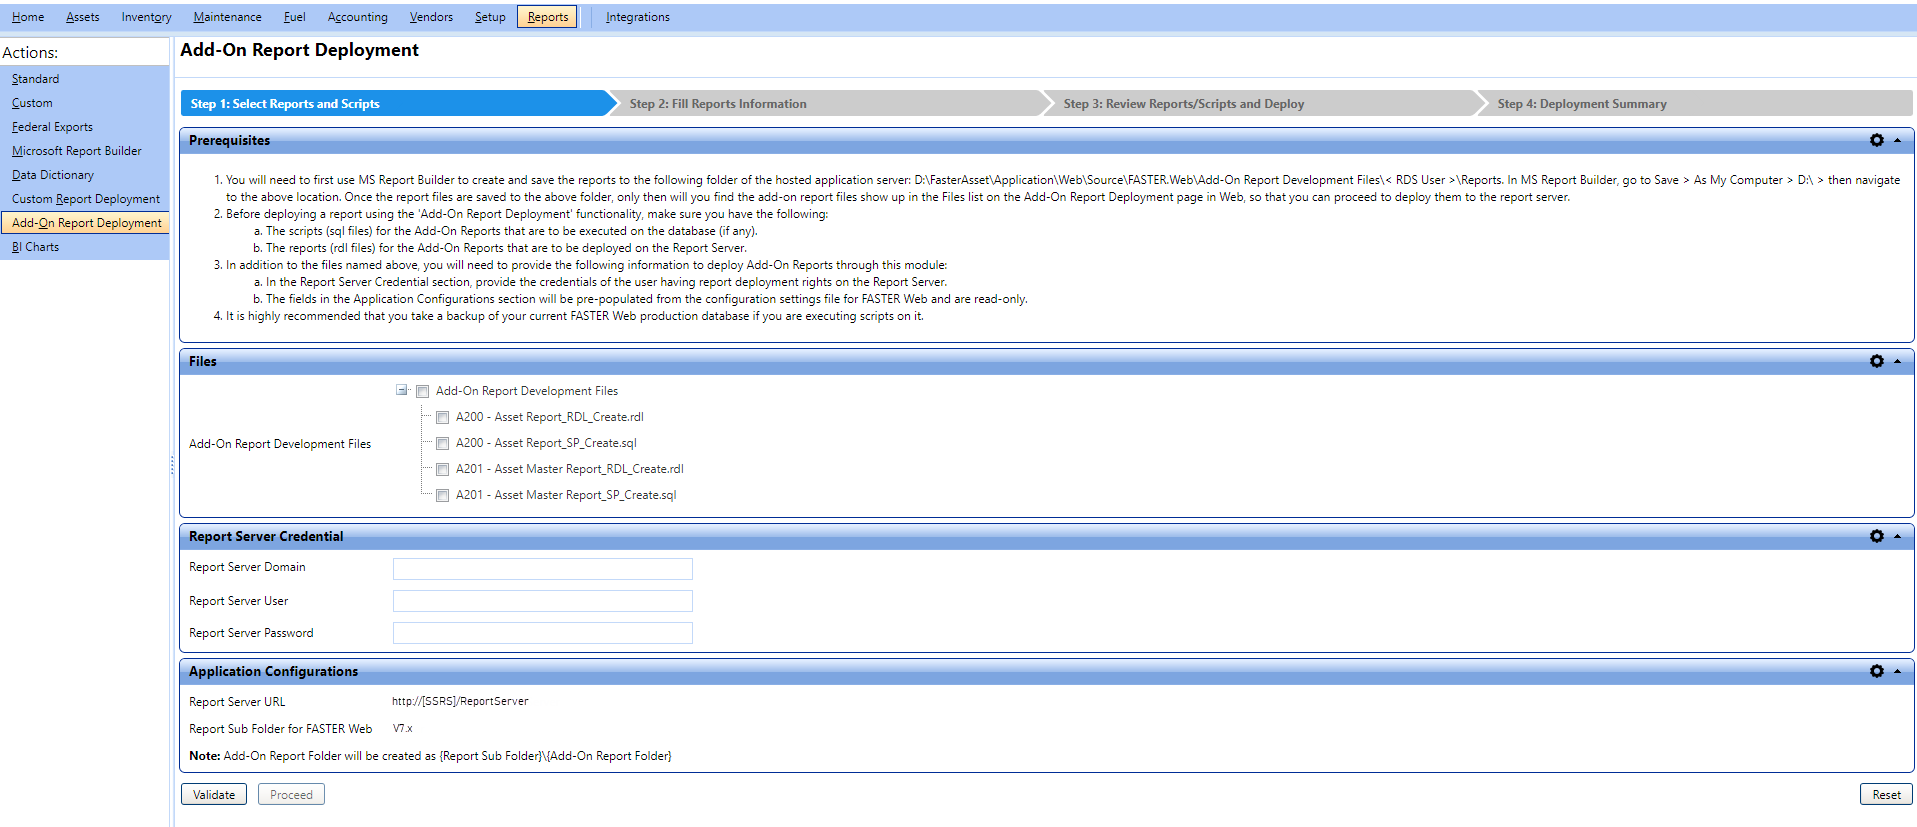
The Add-On Report Deployment - Step 1: Select Reports and Scripts page opens.
Note: The Files section is displayed as per the Microsoft Report Builder hosting scenario value selected in the Setup > Reports Settings > Edit Custom/Add-On Reports and BI Access Settings.
a. If the Microsoft Report Builder application is installed on the FASTER Web application server, do the following:
i. Click  next to the Add-On Report Development Files.
The Add-On Report Folder tree view is displayed.
ii. In the Add-On Report Folder tree, click the following check box (es):
o A single folder or multiple folders containing .sql files (scripts) and .rdl files.
o A single or multiple .sql files (scripts) of the add-on reports that you want to execute on the FASTER Web database.
o A single or multiple .rdl files of the add-on reports that you want to deploy on the report server.
Note: If the Add-On Report Development Files folder does not contain any .rdl files or .sql files, an error message is displayed, and a Validate button is disabled.
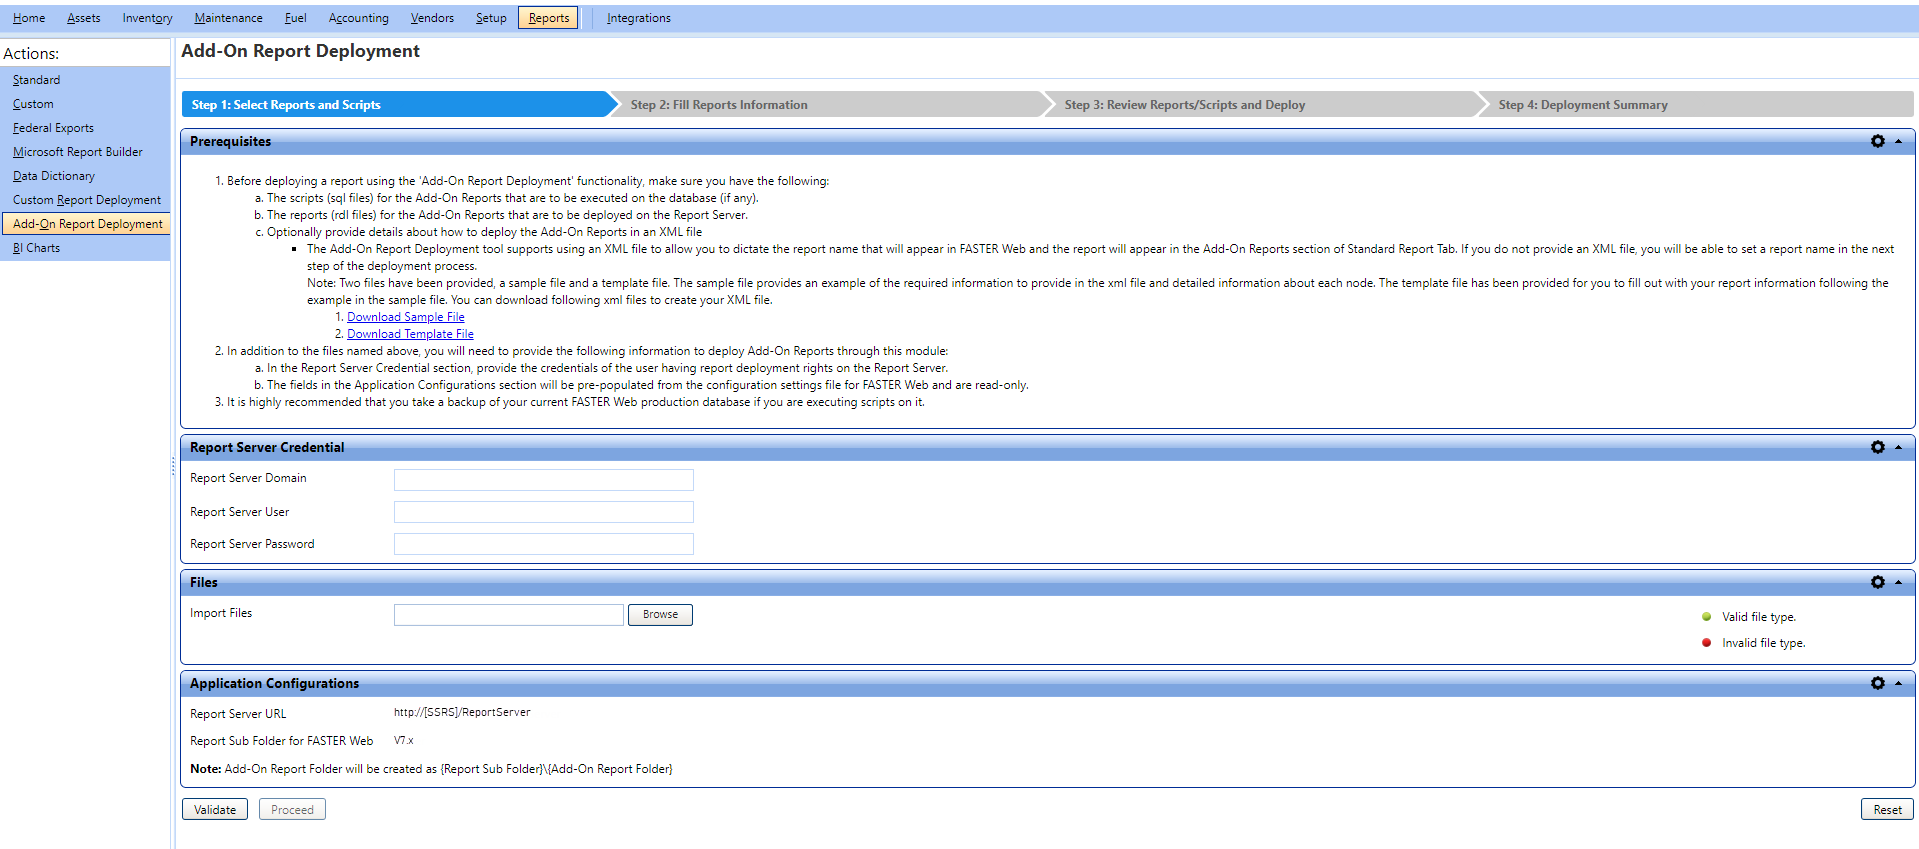
b. If the Microsoft Report Builder application is installed on individual client machine, do the following:
§ In the Files section, click Browse and select any of the following files:
o A single or multiple .sql files (scripts) of the add-on reports that you want to execute on the FASTER Web database.
o A single or multiple .rdl files of the add-on reports that you want to deploy on the report server.
o The Reports.xml file that contains the add-on report’s folder format. This file is optional.
|
Note:
|
FASTER Web validates the specified information and checks whether the Add-On Report folder exists inside the Report Sub folder. If the Add-On Report folder does not exist, a folder {Report Sub Folder}\ {Add-On Report Folder} is created.
|
Note: To clear the files selection, click the Reset button. |
Click the Proceed button to go to the Step 2: Fill Reports Information page.