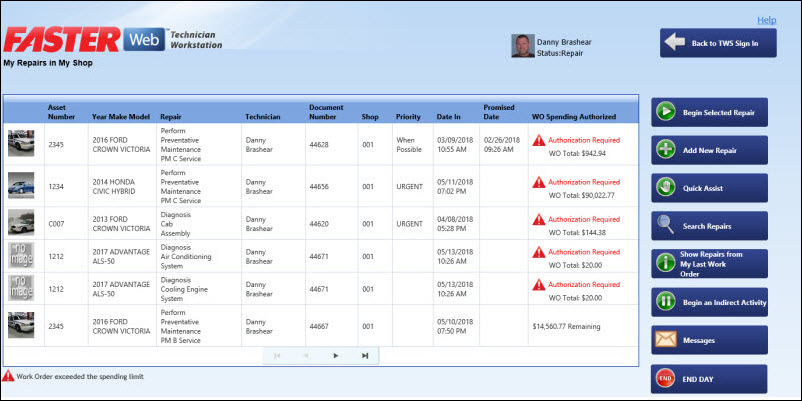
The My Repairs in My Shop screen opens.
My Repairs in My Shop
|
Note:
The WO Spending Authorized column displays the status of the repair with respect to the spending limit set for that work order:
You can continue with the repair for which the work order has not reached the spending limit. |
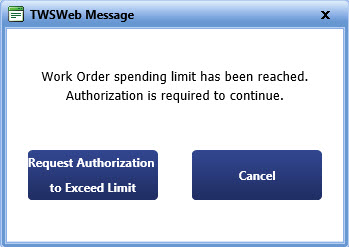
The TWSWeb Message box displays a message to send authorization email.
The repair becomes available only if the spending limit is approved. The WO Spending Authorized column displays the name of the approver of that work order.
|
Note: The system begins calculating your time and applying it to the repair as soon as you click on the Begin Selected Repair button. |
The Repair Notes button in the My Work Order Repair screen displays the notes that are added to the work order repair. If a note is not added to the repair, the Repair Note button is disabled.
Select a repair and click the Begin Selected Repair button to begin work on an existing repair.
Note: You can view the repair notes of a repair, only if the spending limit for that work order is not exceeded. Only after the spending limit is approved, you can view the repair notes.
The My Work Order Repair screen opens.
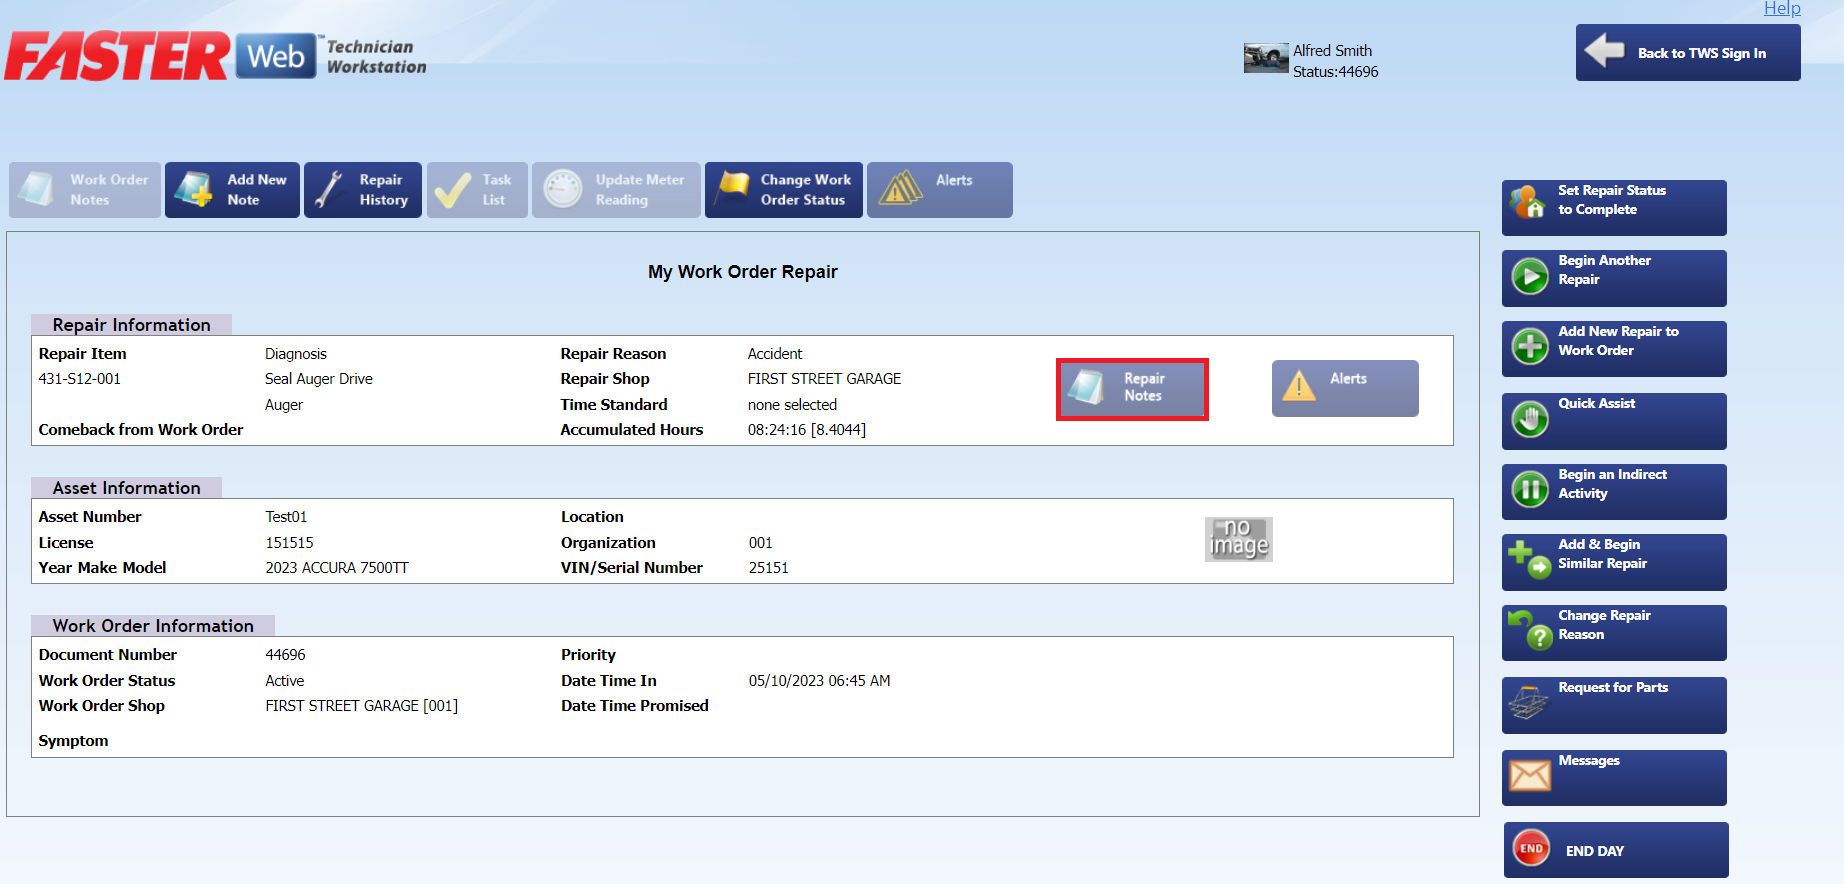
My Work Order Repair
In the Repair Information section, click the Repair Notes button.
The Repair Notes screen opens displaying all the notes that are added to the repair.
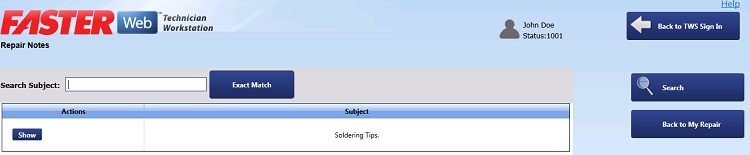
Repair Notes
Click the Show button to view the repair note.
The Repair Note dialog box opens.
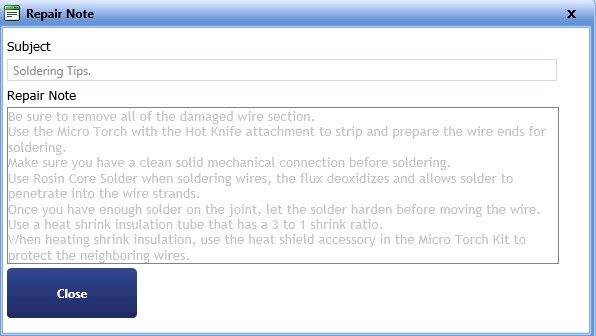
Repair Note
Click Close to close the Repair Note dialog box.
From the Work Order Repair screen, click Set Repair Status to Complete to mark a work order as completed.
Note: You can complete a repair, only if the spending limit for that work order is not exceeded. Only after the spending limit is approved, you can set the repair status to Complete.

Complete a Repair