The Process Billings tab lets you to process billing statement. After processing a billing statement, the Billing Statement History section displays the history of the billing statements that are processed.
1. Click the Accounting module.
2. In the Actions section, click Manage Closeout Processes.
The Closeout Processes page opens.
3. In the Process Billing section, specify the following:
a. In the Statement Type list, select any one of the following type of statement:
i. Billing: To process billing statements.
ii. Pre-Billing: To process pre-billing statements.
b. In the Start Date field, type the date in the MM/DD/YYYY format or select a start date of the statement.
c. In the End Date field, type the date in the MM/DD/YYYY format or select an end date of the statement.
4. Click Process to process the billing statement.
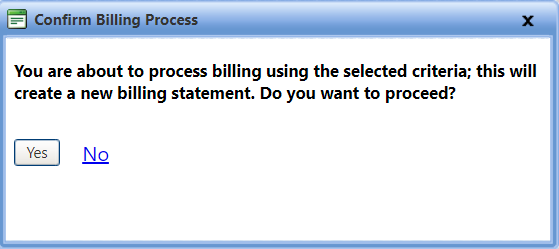
The Confirm Billing Process Pop-up opens.
Click Yes to confirm the billing process. The Billing Statement Message dialog box opens.
Click No to cancel the billing process.
5. Click OK in the Billing Statement Message dialog box to view billing statement history.
|
Note: · The following fields are set by your administrator in the Setup > Application Setup > Accounting > Settings, and cannot be edited.
· In the Billing Statement History section, click the Include Pre-Billing link to view pre-billing statements. |
|
Navigation Tips:
|
6. Click the Delete Last Billing Statement link to delete the billing statement.
Note: This link will be enabled only if the logged in user will have Billing Statement Delete permission assigned. If this permission is not assigned the Delete Last Billing Statement link will be disabled.
· A pop-up message Delete Last Billing Statement opens.
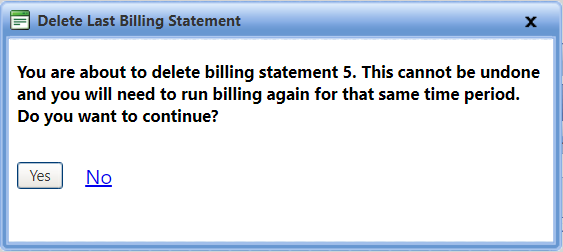
Click Yes delete the billing statement.
Click No to close the pop-up.
· If there is no billing statement to delete, a pop-up message Delete Last Billing Statement opens.
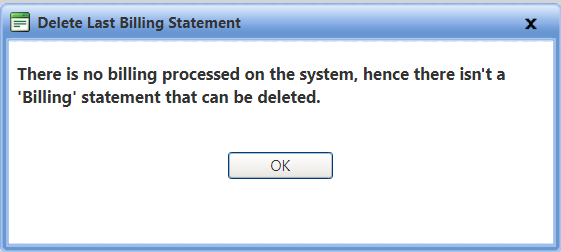
Click OK to close the pop-up.
You can export the Search Results grid in the following formats:
· Microsoft Excel (.xlsx)
· Microsoft Word (.docx)
· Comma-Separated Values (.csv)
1. Click the Microsoft Excel ( ![]() ), Microsoft Word (
), Microsoft Word (  ), or Comma-Separate Value (
  ) icon in the upper-right corner of the Search Results grid.
The File Download dialog box opens prompting you to Open, Save, or Cancel.
2. Click Save.
The Save As dialog box is displayed with the File Type of the selected format.
3. Browse to the desired location, specify a file name, and then click Save.
The Search Results grid is saved in the specified format at the specified location.