The following FASTER URIs need to be configured in the Application Group. You can add URIs for the Add-ons that your organization has purchased.
1. FASTER Web and Customer Portal:
https://[yoursite]/FASTER/Handlers/ADFSHandler.ashx
2. FASTER Technician Workstation:
https://[yoursite]/FASTERTech/Handlers/ADFSHandler.ashx
3. MotorPool Operations:
https://[yoursite]/MotorPoolOperations
https://[yoursite]/MotorPoolOperations/assets/silent-refresh.html
https://[yoursite]/MotorPoolOperations/index.html
4. MotorPool Reservations:
https://[yoursite]/MotorPoolReservations
https://[yoursite]/MotorPoolReservations/assets/silent-refresh.html
https://[yoursite]/MotorPoolReservations/index.html
5. MotorPool Web API:
https://[yoursite]/MotorPoolWebApi
To add an URI to the AD FS configuration database, and then configure the trust between FASTER Web applications and AD FS.
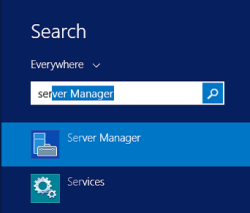
1. Open the Server Manager.

The Server Manager window opens.
2. Click Tools menu, and then click AD FS Management.
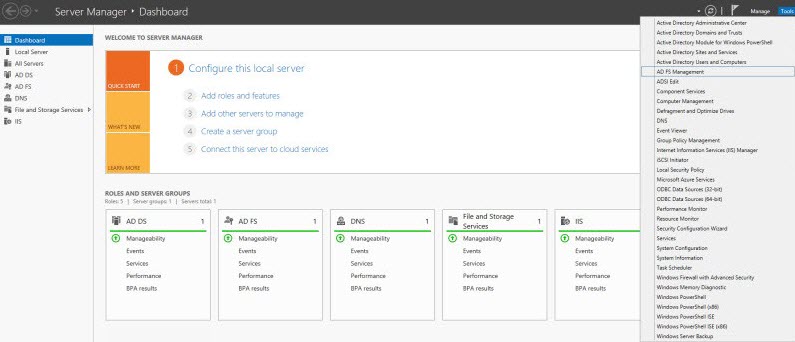
The AD FS screen opens.
3. In the left-pane, right- click AD FS, and then click Add Application Group...
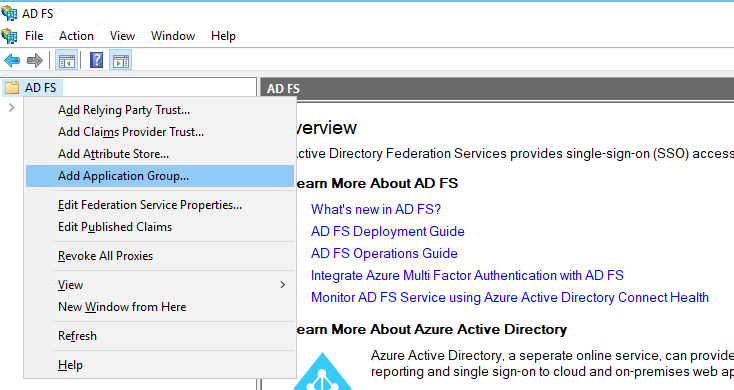
Add Application Group
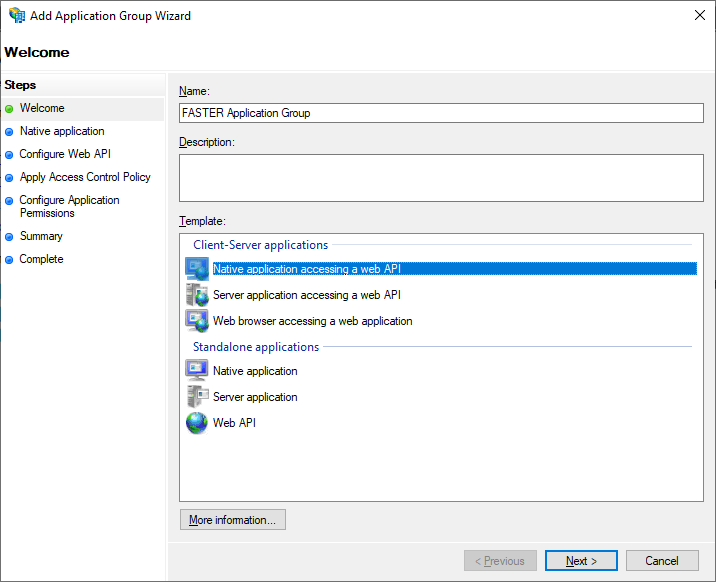
The Add Application Group Wizard - Welcome screen opens.
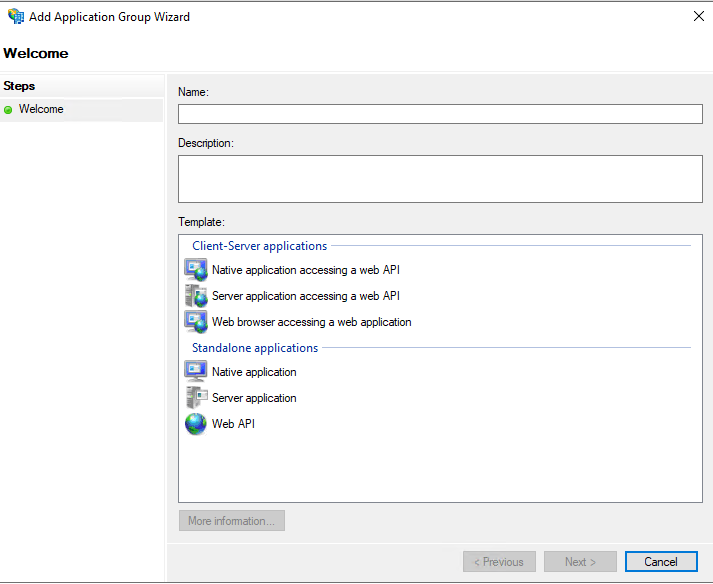
Add application welcome screen
4. In the Add Application Group Wizard - Welcome screen, do the following.
In the Template > Client-Server applications section, select Native application accessing a web API.
In the Name box, type an application group name.
In the Description box, type the description for the application group. This is optional step.
Click Next.
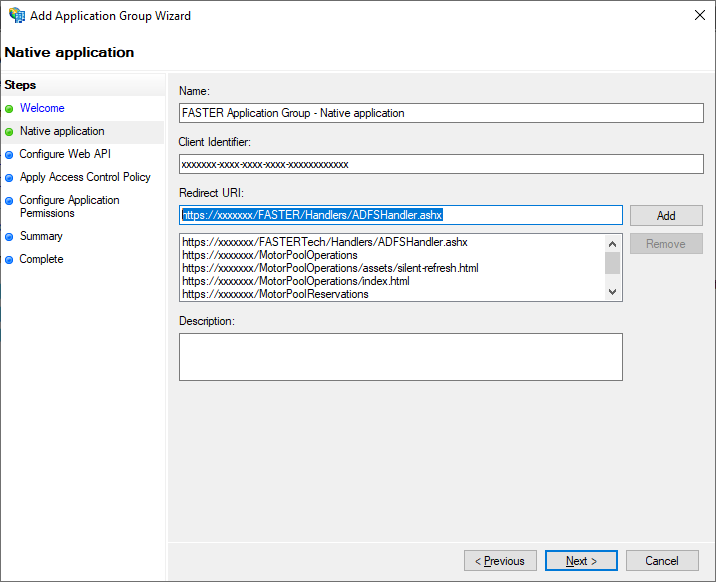
The Add Application Group Wizard – Native application screen opens.
5. In Add Application Group Wizard – Native application screen, do the following:
In the Redirect URI box, add following FASTER Application URIs.
FASTER Web and Customer Portal:
https://[yoursite]/FASTER/Handlers/ADFSHandler.ashx
MotorPool Operations:
https://[yoursite]/MotorPoolOperations
https://[yoursite]/MotorPoolOperations/assets/silent-refresh.html
https://[yoursite]/MotorPoolOperations/index.html
MotorPool Reservations:
https://[yoursite]/MotorPoolReservations
https://[yoursite]/MotorPoolReservations/assets/silent-refresh.html
https://[yoursite]/MotorPoolReservations/index.html
Note down the value displayed in the Client Identifier box for future configuration settings.
Click Next.
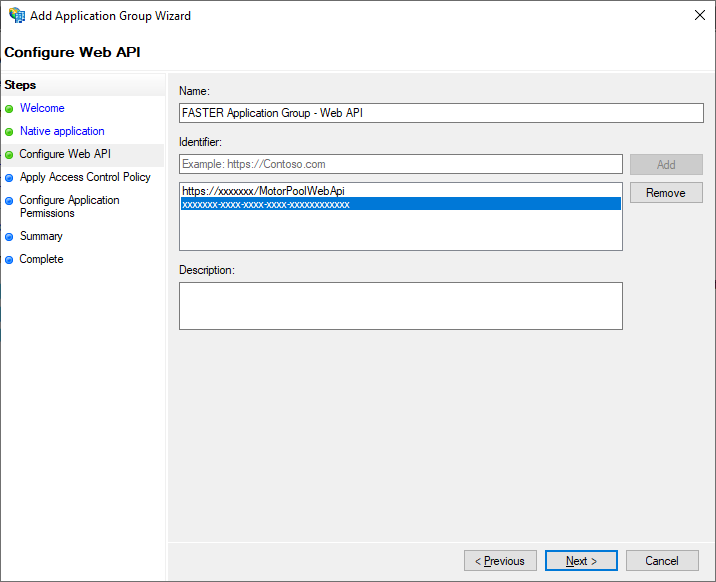
The Add Application Group Wizard – Configure Web API screen opens.
6. In the Add Application Group Wizard – Configure Web API screen, do the following:
Click Next.
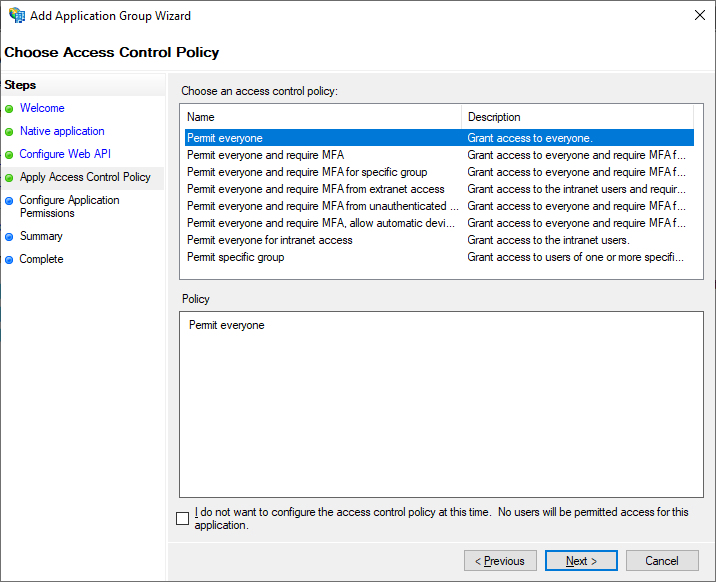
The Add Application Group Wizard – Choose Access Control Policy screen opens.
7. In the Add Application Group Wizard – Choose Access Control Policy screen, select Permit everyone as access control policy and click Next.
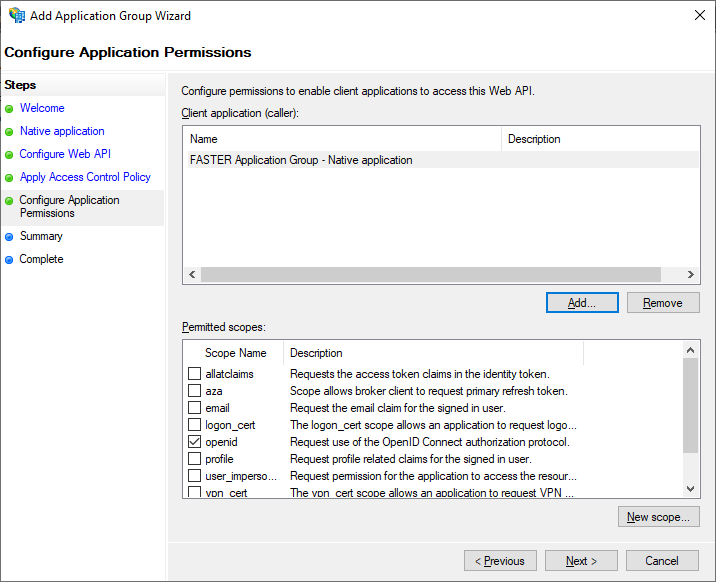
The Add Application Group Wizard – Configure Application Permissions screen opens.
8. In the Add Application Group Wizard – Configure Application Permissions screen, under Permitted scopes, select openid, and then click Next.
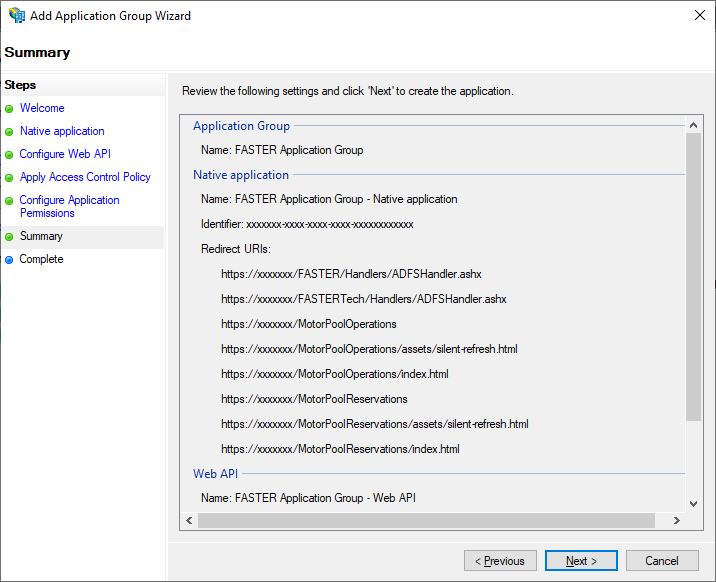
The Add Application Group Wizard – Summary screen opens.
9. In the Add Application Group Wizard – Summary screen, verify the configured native applications and web api for the application group and click Next.
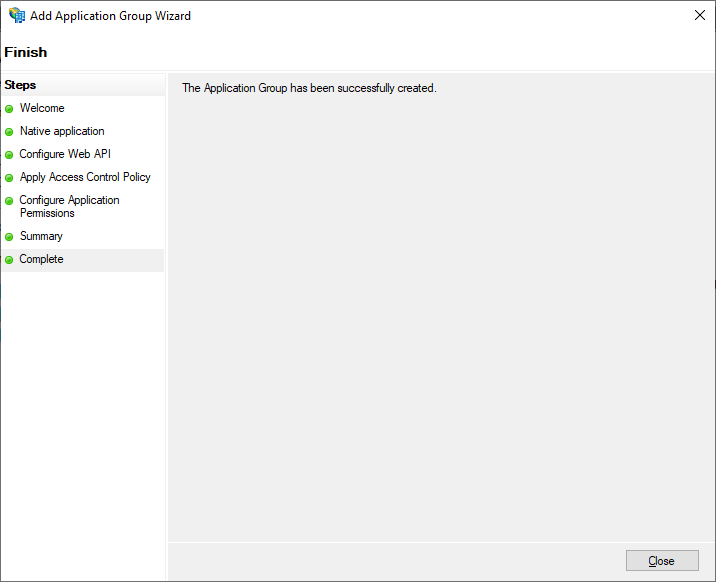
The Add Application Group Wizard – Finish screen opens.
10. In the Add Application Group Wizard – Finish screen, click Close.
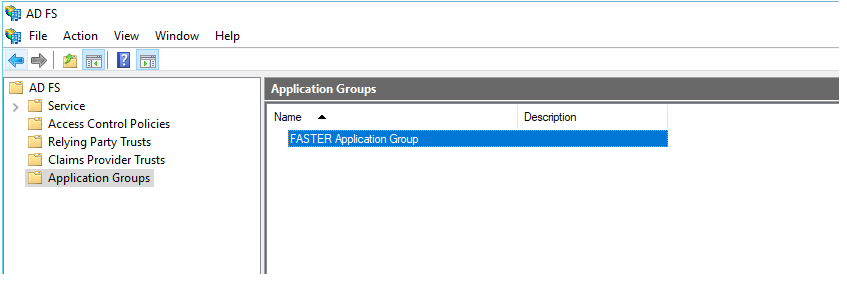
The Application Groups screen opens with newly create application group.
Related Topics